Euphorbia corniculata

BotanicalCollector

4.9 · Premium
In Stock · Ships in 48h
$ 70.00 / plant
Attribute Option
Quantity Qty
1
Sales Type Retail, Same Batch
Product Size W8-10cm
Weight 0.4 kg
Propagation Method Seed-grown
Genus Euphorbia

Description

Origin

Euphorbia corniculata R.A.Dyer is endemic to a small area of the arid interior of the Western and Northern Cape of South Africa, with the type locality in the Tanqua and northern Ceres Karoo (Africa). It was described in the twentieth century by Robert Allen Dyer from material collected on stony plains of the interior plateau, and it is one of the more interesting little spiny Euphorbias of the South African arid zone. Wild populations are stable across their range but the species remains uncommon in general cultivation.

Habitat

In its natural environment, this species is a specialist of the arid Tanqua Karoo and northern Ceres Karoo, where it grows in flat, stony mineral soils derived from weathered shale and mudstone at altitudes around 600–1100 meters above sea level. Rainfall is low and almost entirely confined to the cool winter months, with long, hot, dry summers. Plants sit in fully exposed positions and produce their leafy, flowering branches in the cool months, retreating to the main stem as the dry season sets in.

Description

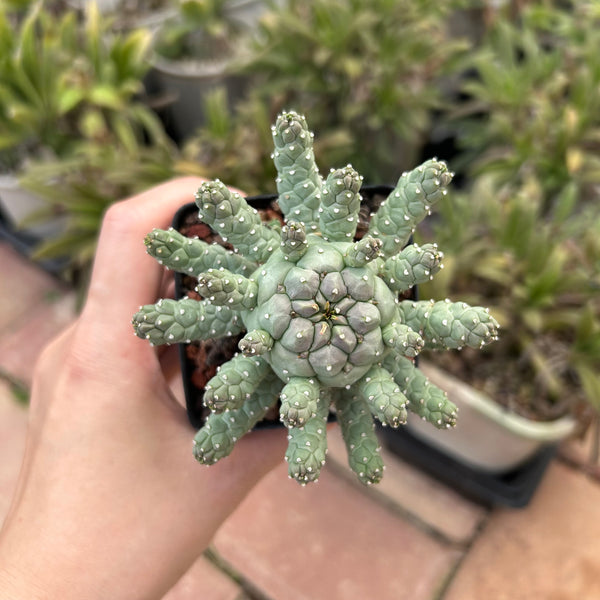
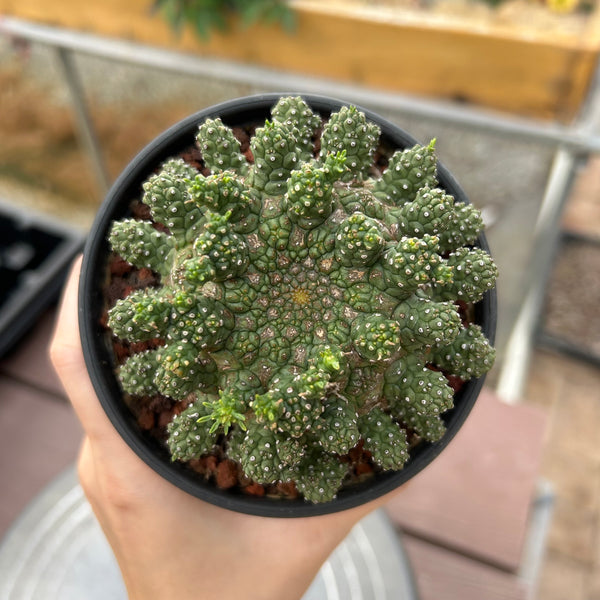
Euphorbia corniculata is a small, spiny South African Euphorbia whose paired, horn-like stipular spines along slender branches give the species its name and make it one of the more sculptural miniatures of the Karroid flora.

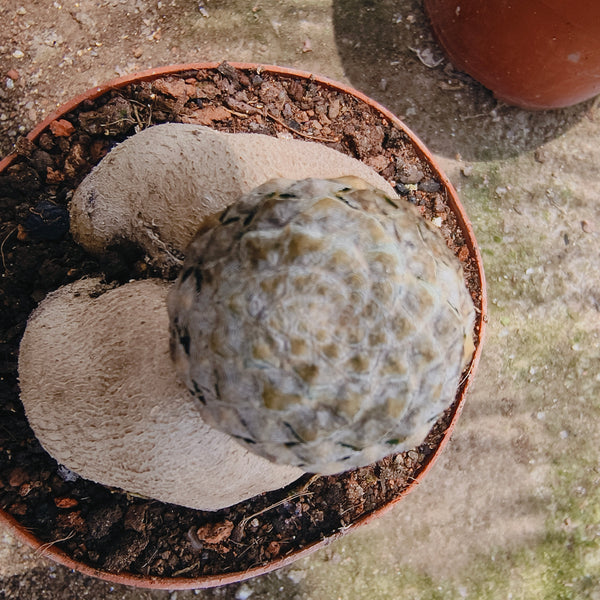
Stems & Caudex: The plant forms a low, much-branched, semi-succulent shrub 20–40 cm tall, with cylindrical, jointed, dull green stems that can thicken with age into a small, somewhat woody basal caudex.

Roots: A coarse, somewhat tuberous root system anchors the plant into the stony Karoo substrate and helps it survive the long dry summer by storing limited moisture.

Spines & Stipules: The stems carry paired, slender, dark stipular spines at each tubercle, forming neat, evenly spaced horn-like pairs along the ribs. The species name, corniculata, refers to these small horn-like spine pairs, which are diagnostic of the species and distinguish it from related Karoo Euphorbias.

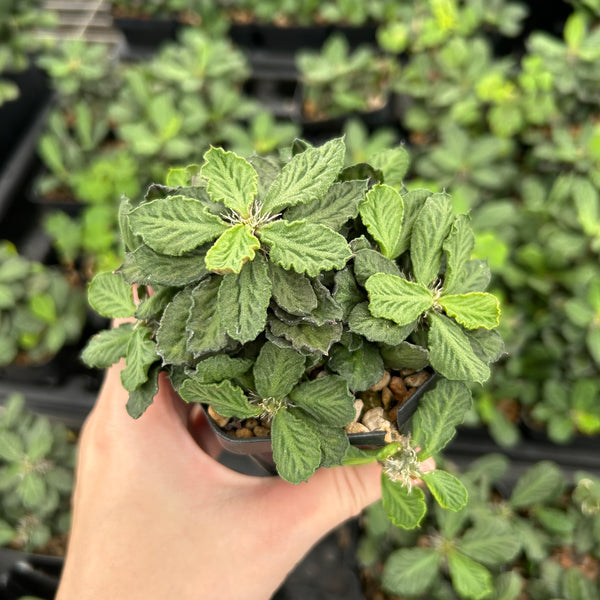
Leaves: Leaves are produced at the stem tips in the cool months, small, narrowly obovate, and often flushed with red or purple in bright light, then shed as the dry summer sets in.

Flowers: The true flowers are the genus-typical yellow-green cyathia, produced in small clusters at the branch tips in late winter to early spring, modest in size but ornamental against the dark stem.

Cultivation: Grow in a sharply drained, mineral-rich mix under bright light and good air movement. Water moderately during the cool growing months and withhold water almost completely in the hot dry summer, when the plant is fully deciduous. The species is frost-tender and resents disturbance of its root system.

Care Guide

Essential Care Tips for Thriving Plants

Light

Provide partial to full sun. Most plants thrive on direct UV exposure. Avoid placing behind window glass, as it filters out the essential UV rays needed for healthy growth.

Water

Follow the "Soak and Dry" principle. Ensure the top 2–3 cm of soil is bone dry before watering (use the finger test). Reduce frequency in winter, but do not stop watering entirely.

Temperature

The ideal range is 18–35 °C. Maintain temperatures above 5 °C during winter. Please note that temperatures below 0 °C pose a significant risk of plant death.

Humidity

Best kept at 30–50% humidity. Note: High air humidity is not a substitute for root watering. Avoid overly damp areas to prevent root rot or leggy side shoots.

Soil

A loose, well-draining medium is ideal. A mix containing 50–70% grit or mineral soil is recommended for aeration. Outdoor ground planting is also a viable option.

Fertilizer

Fertilize during repotting using Osmocote A2 slow-release fertilizer. Apply sparingly twice a year, or adjust the fertilizer type based on your specific home environment.

Planting Guide

Start Your Green Journey in 4 Steps

01

Unbox & Inspect

Carefully unpack and inspect the plant’s body and roots. We recommend taking photos or videos immediately for your records. Place it in a shaded, well-ventilated spot for 1–2 days to acclimate to its new environment.

02

Potting & Placement

After 24 hours of rest, pot the plant using slightly moistened soil. Place it in a bright, airy location to encourage recovery. Keep away from AC vents or heaters to prevent damage from temperature fluctuations.

03

First Watering

Use water that has sat for at least 24 hours. If using the damp-potting method, wait 2–3 days before the first watering. Ensure a thorough soak until water drains freely from the bottom.

04

Daily Care

Monitor leaf condition and soil moisture daily. If the soil remains damp, increase ventilation rather than watering. Proper airflow is essential to prevent root rot and ensure lasting health.